Your Windows 11 computer has been running slower lately, and you've noticed the fan spinning more frequently. Sound familiar? High CPU usage from background processes and unnecessary startup apps is one of the most common performance killers on Windows 11. The good news? You can reclaim your system's speed with some straightforward adjustments that don't require technical expertise.
Understanding Windows 11's Resource Management
Windows 11 introduced several new features designed to improve system efficiency, but it also runs more background processes than previous versions. These processes handle everything from security scanning to system updates, but they can accumulate over time and create performance bottlenecks.
The key is distinguishing between essential system processes and resource-hungry applications that provide little ongoing value. Windows 11's Task Manager has evolved significantly, offering more granular control over these processes than ever before.
Step 1: Master Task Manager's New Features
Accessing Advanced Task Manager Functions
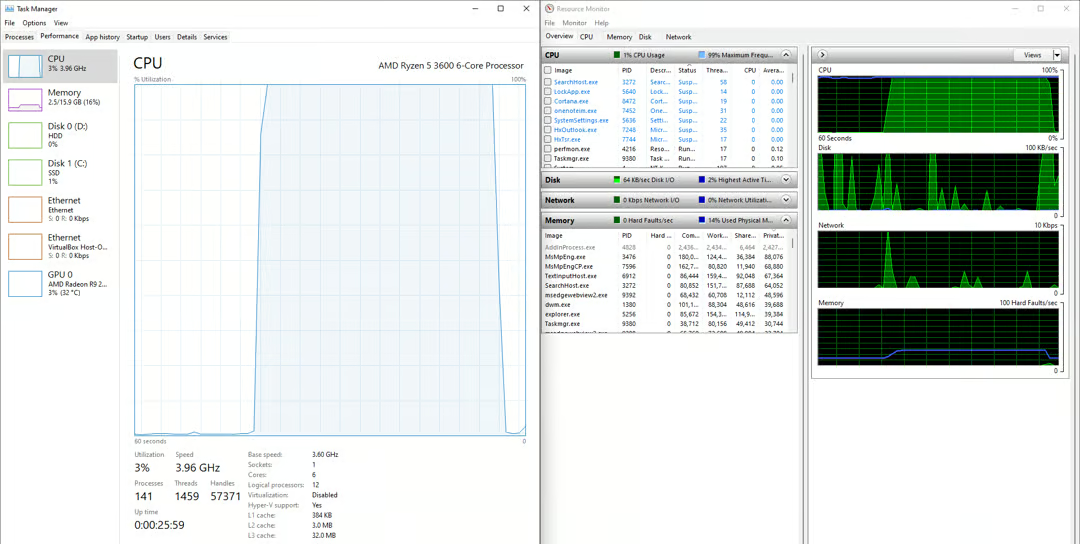
Press Ctrl + Shift + Esc to open Task Manager. If you see a simplified view, click "More details" at the bottom to access the full interface.
The Performance tab now offers per-core CPU monitoring, which helps identify whether specific cores are overloaded while others remain idle. Click on "CPU" in the left panel, then right-click the graph and select "Change graph to" → "Logical processors" to see individual core usage.
Deploy Efficiency Mode Strategically
Windows 11's Efficiency Mode is a game-changer for managing resource-intensive background processes. Here's how to use it effectively:
- Navigate to the Processes tab in Task Manager
- Right-click on any process consuming high CPU resources
- Select Efficiency mode from the context menu
- Confirm the action when prompted
Efficiency Mode throttles the selected process, reducing its CPU priority and limiting its resource consumption. This is particularly effective for applications like web browsers with multiple tabs, media players, or background sync services that don't need immediate processing power.
Important note: Only apply Efficiency Mode to non-critical applications. Avoid using it on system processes, antivirus software, or applications you're actively using, as this can cause instability or poor user experience.
Step 2: Optimize Startup Applications
Identifying Startup Impact
The Startup tab in Task Manager shows which applications launch automatically when Windows starts. Each app displays a "Startup impact" rating: High, Medium, Low, or Not measured.
Focus on applications marked as "High" impact first, as these significantly slow your boot time and consume resources immediately after startup. Common culprits include:
- Adobe updaters and creative suite applications
- Gaming platforms (Steam, Epic Games, Discord)
- Communication tools (Skype, Zoom, Slack)
- Cloud storage sync clients (Dropbox, OneDrive, Google Drive)
Safe Startup Optimization Process
- Assess necessity: Ask yourself if you need each application immediately upon startup
- Disable selectively: Right-click applications you don't need at startup and select "Disable"
- Test system stability: Restart your computer and ensure all essential functions work properly
- Re-enable if needed: You can always re-enable applications later if you discover you need them
Pro tip: Don't disable Windows Security, audio drivers, or manufacturer-specific hardware utilities, as these are typically essential for proper system operation.
Step 3: Control Background App Activity
Windows 11 Background Apps Settings
Navigate to Settings → Apps → Apps & features → Advanced options for individual apps to control their background activity. For system-wide control:
- Open Settings → Privacy & security → Background apps
- Toggle off "Let apps run in the background" for a blanket restriction
- Alternatively, scroll down and disable specific apps individually
This prevents applications from consuming CPU cycles when you're not actively using them, while still allowing them to function normally when opened.
Managing System Background Processes
Some Windows services run continuously in the background. To optimize these:
- Press Windows + R, type
services.msc, and press Enter - Look for services you don't need, such as:
- Windows Search (if you don't use search frequently)
- Print Spooler (if you don't have printers)
- Fax service (rarely needed on modern systems)
Caution: Only disable services you're certain you don't need. Disabling critical services can cause system instability.
Step 4: Optimize Power and Performance Settings
Adjust Power Plans
Windows 11's power plans significantly impact CPU behavior:
- Open Settings → System → Power & battery
- Click Power mode and select "Best performance" for maximum CPU availability
- For laptops, consider "Balanced" to maintain reasonable battery life
Advanced Power Options
For more granular control, access advanced power options:
- Search for "Edit power plan" in the Start menu
- Click "Change advanced power settings"
- Expand "Processor power management"
- Set "Minimum processor state" to 5% and "Maximum processor state" to 100%
This prevents your CPU from running at unnecessarily high speeds during light tasks while ensuring full performance is available when needed.
Step 5: Monitor and Maintain Performance
Real-Time Performance Monitoring
Task Manager's Performance tab offers several monitoring tools:
- CPU usage graphs: Double-click any performance graph to create a floating widget for real-time monitoring
- Memory usage: Monitor RAM consumption to identify memory leaks
- Disk activity: Watch for processes causing excessive disk usage
Regular Maintenance Tasks
Establish a monthly routine:
- Review startup apps: New installations often add themselves to startup
- Check for Windows updates: Updates frequently include performance improvements
- Run Disk Cleanup: Clear temporary files and system cache
- Monitor temperature: Use Task Manager's GPU temperature monitoring to ensure your system isn't overheating
Advanced Troubleshooting Techniques
Analyzing Wait Chains
When applications freeze or become unresponsive, Task Manager's "Analyze wait chain" feature helps identify the root cause:
- Right-click on an unresponsive process
- Select "Analyze wait chain"
- Review the chain of processes waiting for resources
This reveals whether the issue is with the application itself or a dependency.
Process Identification and Management
Use Process IDs (PIDs) to track specific processes across sessions. This is particularly useful when troubleshooting recurring issues or when processes have similar names.
Conclusion
Optimizing Windows 11's background CPU usage and startup apps doesn't require advanced technical knowledge—just systematic application of the right tools and techniques. Start with Task Manager's Efficiency Mode for immediate relief from resource-hungry processes, then work through your startup applications to eliminate unnecessary boot-time delays.
The key to sustained performance is regular monitoring and maintenance. Set aside time monthly to review your system's performance metrics and adjust settings as needed. Remember that your usage patterns change over time, so what worked six months ago might need refinement today.
By implementing these strategies, you'll notice faster boot times, more responsive applications, and better overall system performance. Your computer will run cooler and quieter, extending its lifespan while providing a more enjoyable user experience.
