Hardware and Software Prerequisites for a Raspberry Pi Database Server
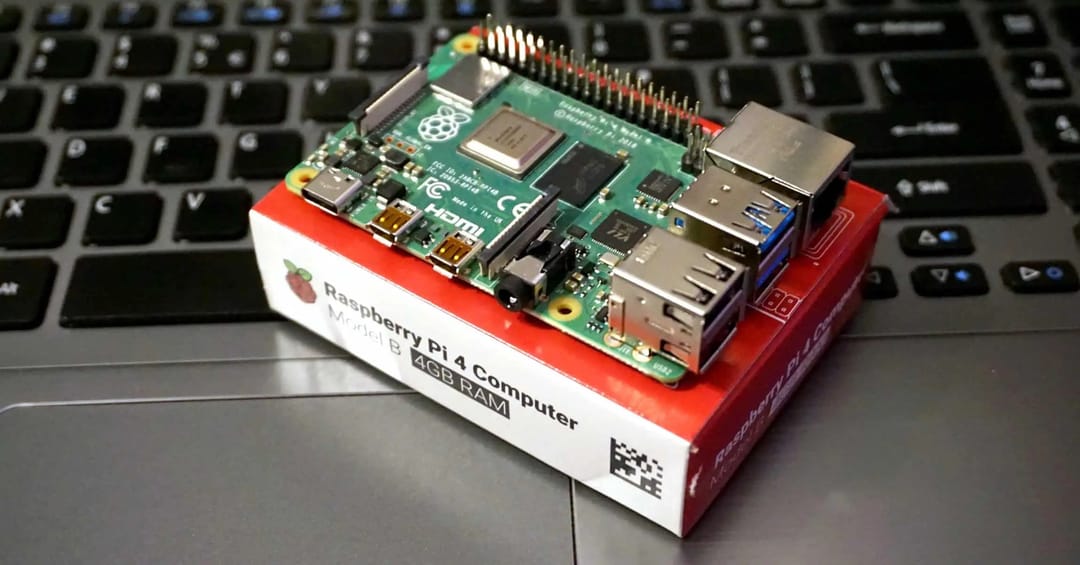
A Raspberry Pi functions as a mini-computer, and turning it into a dedicated MariaDB server is straightforward when you have the essentials in place. You’ll need a Raspberry Pi (e.g., Raspberry Pi 4 Model B), a reliable USB-C power supply, a microSD card of at least 32GB, and a stable Internet connection. Use a computer to prepare the operating system and perform the initial configuration; a microSD-to-USB or SD adapter helps you write the OS image onto the card. WiFi or Ethernet will connect the Pi to your local network, and SSH will provide remote terminal access for a smooth, headless setup.
Installing Raspberry Pi OS Lite with Raspberry Pi Imager
The optimized Raspberry Pi OS Lite is ideal for server workloads. It’s headless (no GUI), which conserves microSD storage and RAM by avoiding unnecessary background processes.
Select and Configure the OS in Raspberry Pi Imager
-
Launch Raspberry Pi Imager on your computer and choose Raspberry Pi OS (other), then select Raspberry Pi OS Lite (64-bit) or 32-bit depending on your model.
-
Open the settings (gear icon) to set a hostname (for example, raspi01), enable SSH with password authentication, and define a username (e.g., pi) and password.
-
Enter WiFi credentials to allow the Pi to join your network automatically after boot.
-
Choose the correct microSD card in CHOOSE STORAGE, confirm the write operation, and complete the imaging process.
-
Eject the microSD card, insert it into the Raspberry Pi, and prepare to power up.
First Boot, Network Join, and SSH Access
Connect the USB-C power supply to boot the Pi. The red LED indicates power, while the green LED shows activity; give the device a few minutes to finish booting and join the network. From your computer, open a terminal and attach via SSH using the hostname you set:
On first connection, accept the host fingerprint, then authenticate with your Raspberry Pi OS password. Before proceeding, update the base system to ensure the latest packages and security fixes:
sudo apt update
sudo apt upgrade
Installing the MariaDB Server on Raspberry Pi
With the OS updated, install MariaDB from the default repositories:
sudo apt install mariadb-server
A command-line SQL client is included, so you can immediately verify the server:
sudo mariadb
Run a simple query to confirm basic functionality, then proceed to create an application-specific schema and user.
Creating an Application Database and Least-Privilege User
Using the MariaDB client, create a database and a dedicated user account rather than using root in your applications:
CREATE DATABASE nation;
CREATE USER 'user'@'%' IDENTIFIED BY 'Password123!';
GRANT ALL PRIVILEGES ON nation.* TO 'user'@'%';
Exit the client:
quit
This pattern isolates privileges to the specific schema (nation) and prepares the environment for remote access and application connectivity.
Securing the MariaDB Installation with Built-In Tooling
Hardening the server is a best practice. Use the interactive security script to apply sensible production defaults and remove insecure defaults:
sudo mariadb-secure-installation
You’ll be guided through actions such as setting or changing the root password, removing anonymous users, disallowing remote root login, dropping the test database, and reloading privileges. Answer the prompts according to your security posture; for reference, you can safely remove anonymous accounts, disallow remote root access, and drop the test database to reduce attack surface.
Enabling Remote Access on the Raspberry Pi MariaDB Server
By default, many installations bind MariaDB to localhost. Adjust the server configuration to allow remote clients on your network:
sudo nano /etc/mysql/mariadb.conf.d/50-server.cnf
Comment out the loopback bind line so the server listens on all interfaces:
#bind-address = 127.0.0.1
Save the file and exit your SSH session:
exit
From your computer (which already has the MariaDB client installed), test the remote connection:
mariadb -h 192.168.1.2 -u user -p
Seeing “Welcome to the MariaDB monitor” confirms the server is reachable and the credentials work over the network.
Using DBeaver for Graphical Database Administration
A graphical SQL client makes browsing schemas, running queries, and managing connections more intuitive. DBeaver is a robust, free option.
Configure a New MariaDB Connection
-
Open DBeaver and create a New Database Connection.
-
Select MariaDB, then supply host (192.168.1.2), username (user), and your password.
-
Use Test Connection to verify the setup, then Finish to save.
-
The connection appears in Database Navigator for easy access to tables, views, procedures, and query editors.
Loading the Nation Demo Database for Exploration
The MariaDB Tutorial site provides a ready-made “nation” sample dataset. After downloading and extracting nation.sql, open it from DBeaver (File > Open File…), and target your Raspberry Pi connection via the Active datasource selector.
Execute the SQL Script to Populate the Schema
Use DBeaver’s Execute SQL Script button to run nation.sql and create the tables and data. In Database Navigator, browse the newly populated nation schema; for instance, open the countries table and inspect rows in the Data tab to validate the import.
Running SQL Queries Against the Nation Schema
With data loaded, open a new SQL script (right-click the nation database > SQL Editor > New SQL script) and begin querying. You can, for example, explore languages by joining related tables or filter by your own country. The sample ER diagram available from the MariaDB Tutorial site helps orient relationships among countries, cities, languages, and other entities.
Engage with the dataset: write exploratory SELECTs, experiment with JOINs, and refine WHERE filters to answer practical questions. Share interesting insights or query patterns with your team to encourage collaboration and learning.
Exploring ColumnStore and Language Connectors
Beyond standard transactional workloads, consider columnar storage for analytics via MariaDB ColumnStore. You can also develop applications with official MariaDB connectors for languages including Java, JavaScript/Node.js, Python, and C++, which provide efficient, idiomatic APIs for connecting, querying, and managing transactions in your apps.
Safe Shutdown of Your Raspberry Pi Database Server
When maintenance or relocation is needed, shut down gracefully over SSH:
sudo shutdown now
This ensures data integrity and avoids filesystem corruption.
Q&A
How do I enable remote connections to MariaDB on my Raspberry Pi?
Edit the server config at /etc/mysql/mariadb.conf.d/50-server.cnf and comment out the loopback bind line so the server listens on all interfaces:
#bind-address = 127.0.0.1
Restart the service if needed, then connect remotely using:
mariadb -h 192.168.1.2 -u user -p
Why is Raspberry Pi OS Lite recommended for a database server?
The Lite, headless edition avoids installing a GUI, conserving microSD storage and RAM while reducing background processes. This lean footprint improves performance and stability for server workloads such as MariaDB.
What GUI client should I use to manage the database, and how do I import sample data?
DBeaver is an excellent free graphical client. Create a MariaDB connection to 192.168.1.2, then open nation.sql and execute the script to populate the sample “nation” schema. Browse tables and run queries directly within DBeaver’s SQL editor.
